Creating a new project
After logging in, the first page you will see is the Dashboard. Here is where new projects are created.
Follow these steps to create a New Project:

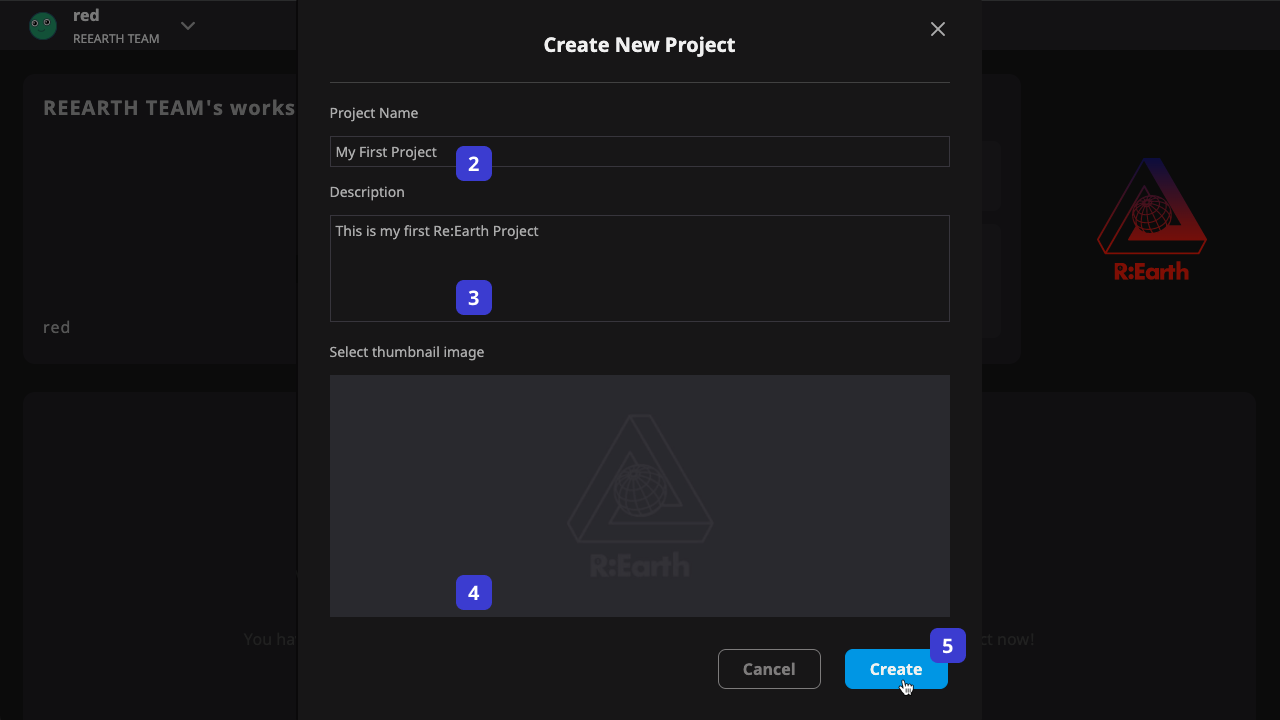
- Click the New project button to open the Initialize project dialog modal
- Fill in the project name
- Fill in the project description
- Select and add the Thumbnail image
- Confirm to create a new project
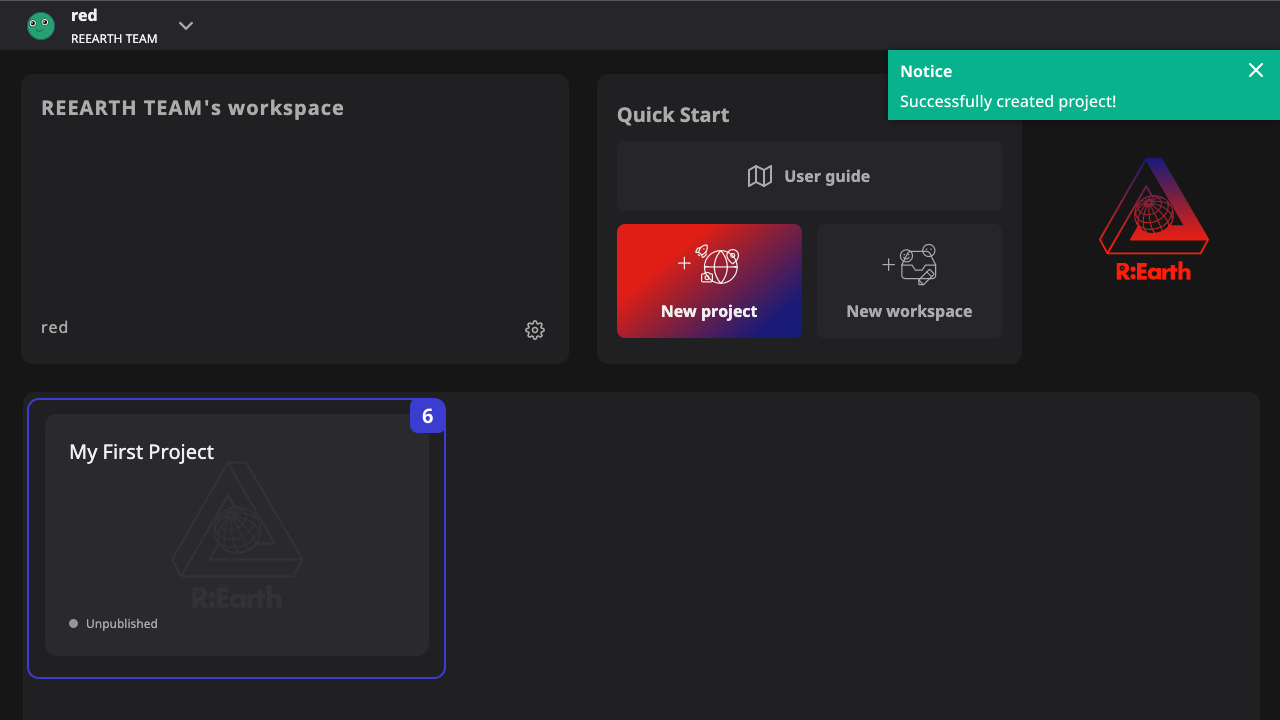
- Once completed, you will find a new project card appearing on the project list
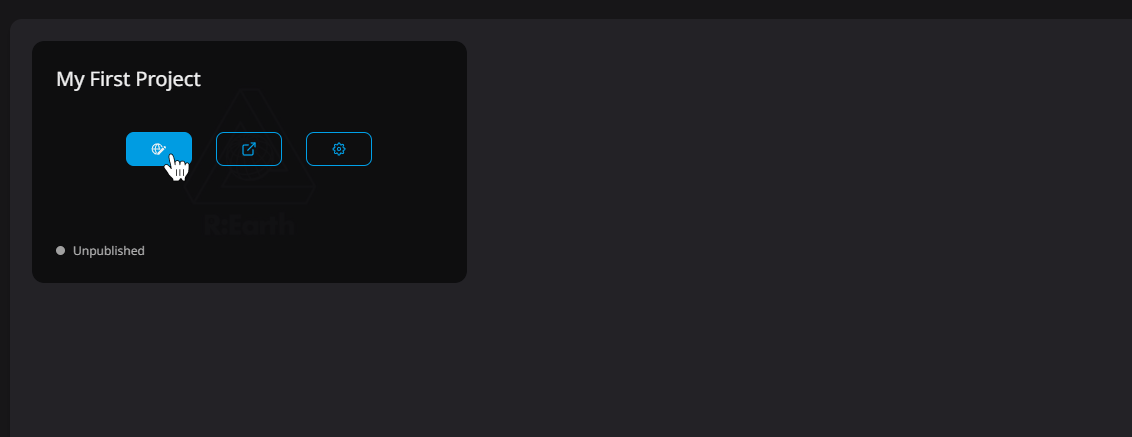
At this point you have created your first Re:Earth project. Clicking the Edit button on the project card will take us to the project we just created.